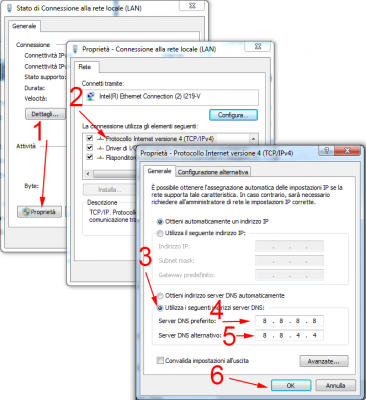
Open Chrome and click on the icon with the three lines at the top right and click on "Settings" (Img. 1)
Img. 1
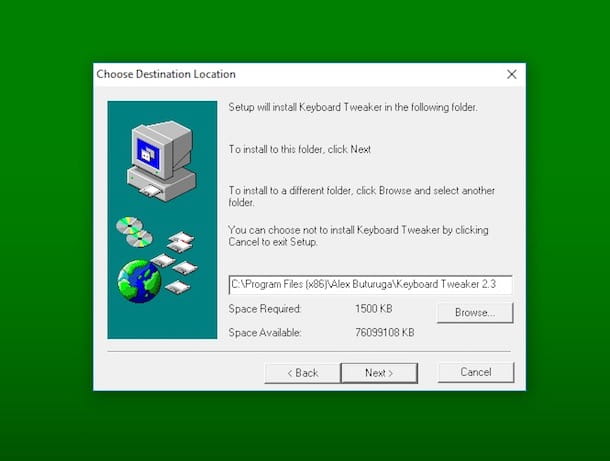
Scroll down the page and click on the "Show advanced settings" link (Img. 2)
Img. 2
Under the heading "Network" click on the button "Change proxy settings" (Img. 3)
Img. 3
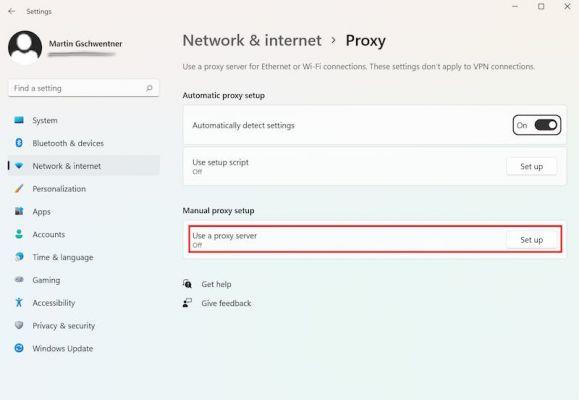
This will open your system network settings, which vary depending on your operating system.
As an example, here we show the case of a Windows operating system; for computers with MacOS operating system you can refer to the configuration page in Safari.
Then click on "Connections" and then "LAN settings" (Img. 4)
Img. 4
Select the item "Use automatic configuration script" and write in "address": http://homepage.cab.unipd.it/proxy/proxy.pac (Img. 5)
Img. 5
Then restart Chrome.
The authentication mask will appear where you will enter your Username and Password.
Please note that:
Username is the full institutional email address ([email protected] or [email protected]).
La Password must be the one specific to the proxy service.
Request the sending of an activation password by connecting to the Account Management page
Now the proxy is active. Proxy-enabled SBA resources are available.
NB: It is important to remember to disable the proxy in the browser when you have finished consulting the SBA resources, so as not to unnecessarily burden traffic on the reserved bandwidth, making it slow and difficult for other users to consult.
turn off the proxy just uncheck the Use automatic configuration script option.
Deprecated: Automatic conversion of false to array is deprecated in /home/soultricks.com/htdocs/php/post.php on line 606


