The Deploy of the Website on Windows Azure
Starting from a previously created web application it is possible to configure the deployment of our application on Windows Azure.
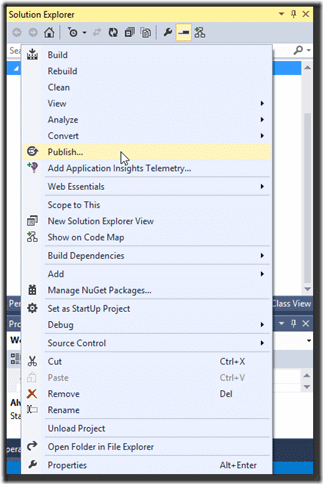
Let's imagine we have already created an application ASP.NET MVC 5 (eg WebsiteAzureDeployDemo1), to configure the deployment you need to open the context menu on the project from the window Solution Explorer and click Pubblish.
At this point a new window will appear for the configuration of the publication of our website.
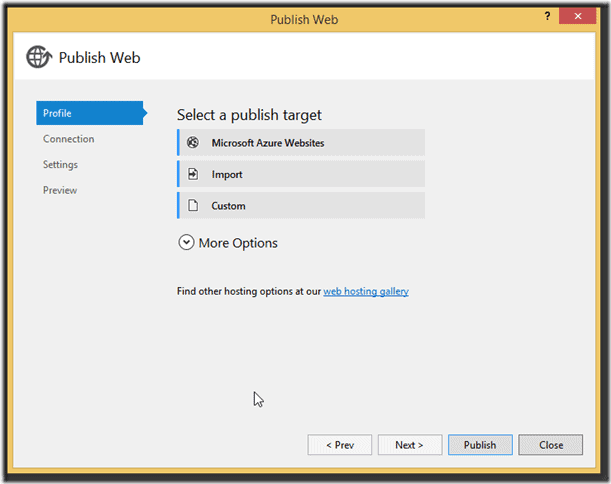
Clicking on Microsoft Azure Websites, if you have not done so before, you will need to log in with an account that has a valid and active Windows Azure subscription.
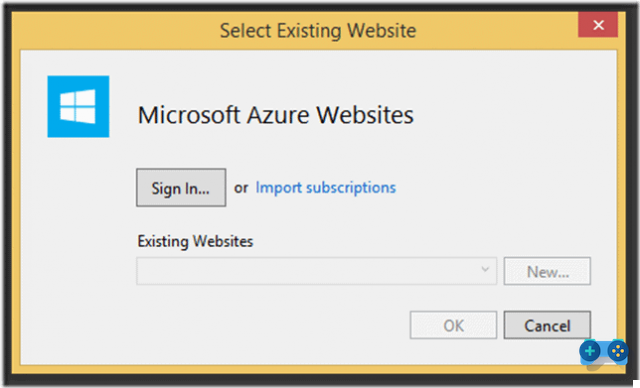
Carried out on login you can decide whether to create a new website, or select an existing website, on our Windows Azure subscription.
If you want to use an existing website, all you have to do is select one of the websites in the "Existing Websites".
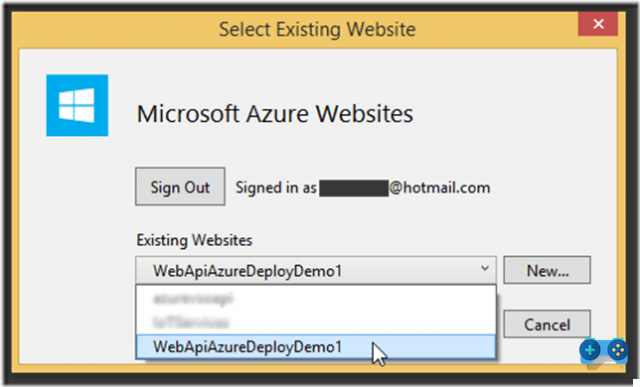
Otherwise, by pressing the button“New…” you will be able to create a new Website within our subscription of Windows Azure.
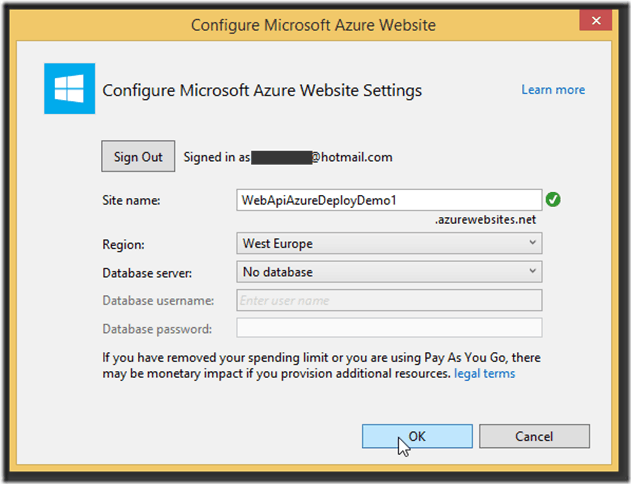
Once you have chosen the Website on which to deploy, the publication procedure will automatically fill in all the data useful for the connection used for the publication.
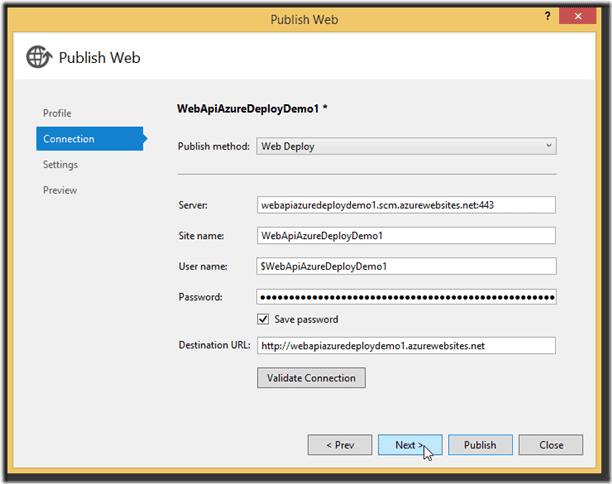
By pressing the "Next"It will be possible to configure additional parameters such as:
- Active configuration for compilation
- Removal of additional files present on the destination website
- Pre-compilation of the created Website, before compilation
- Exclusion of files in the App_Data folder
- DB connection string (only if configured)
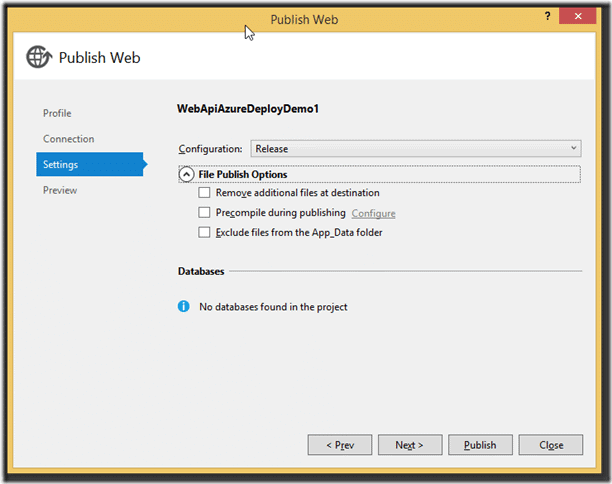
Once the parameters have been configured, pressing the "Next"You will be able to see a preview of the operations that will be carried out during the publication of our Website:
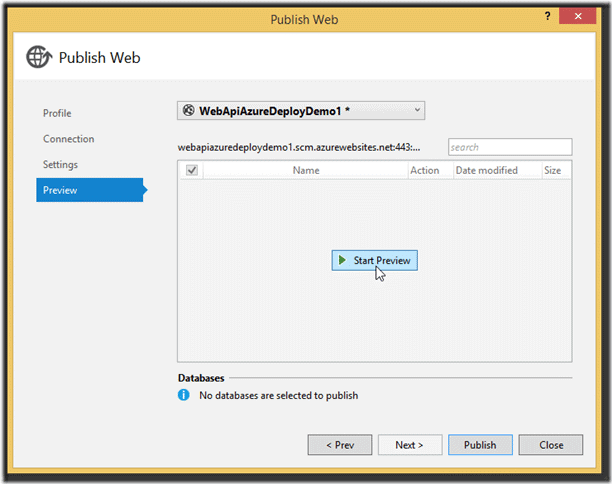
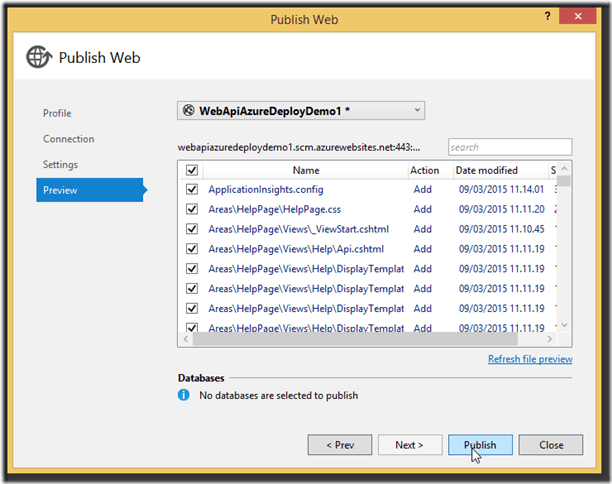
At the end of the procedure, just press the button "Pubblish”To finally start the deployment.
To check the progress and the success of our deployment just view the window "output"


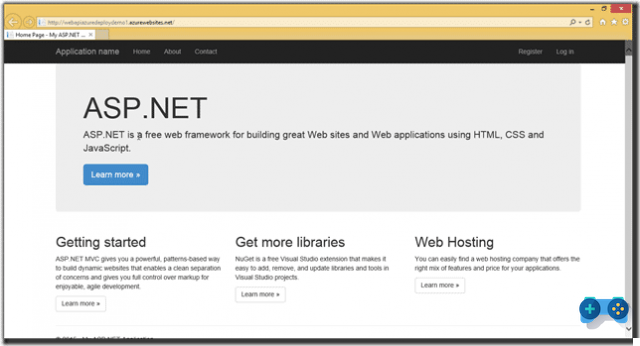
Once the deployment is complete, Visual Studio will open our published website in a new browser window.
Happy Coding

Deprecated: Automatic conversion of false to array is deprecated in /home/soultricks.com/htdocs/php/post.php on line 606


