Software more than hardware
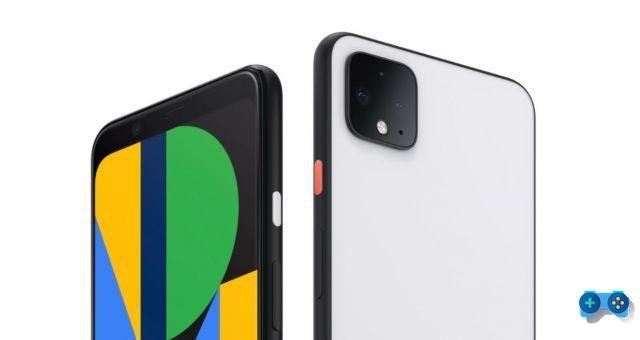
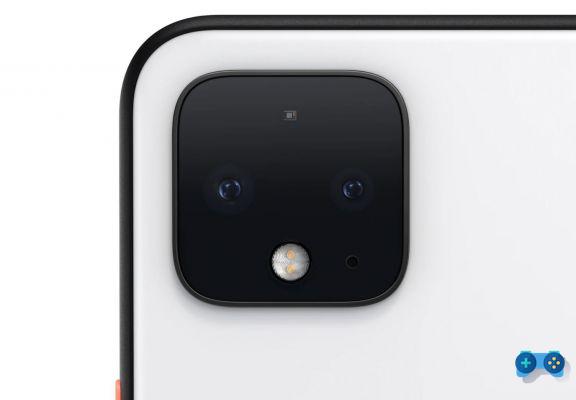
Google has recently presented its new Google Pixels which, despite technical characteristics that on paper do not scream a miracle - especially in the photographic field given, for example, the absence of a wide-angle lens - are able to offer exceptional photos that have nothing to do with it. envy the current benchmark in this field: iPhone 11 Pro.
The credit goes to the extraordinary Google Camera application which, thanks to the many innovations based on artificial intelligence that the Mountain View company brings, release after release, is able to offer images with exceptional details and colors. We therefore asked ourselves what would happen if Google Camera were installed on a mobile phone with a respectable photographic sector? The answer is obvious but to realize it firsthand we have decided to write this guide that will guide you step by step in installing the GCam app on your Android smartphone.
 Disclaimer: GCam cannot be installed on all mobile phones. On the net there are also customized versions suitable for the different smartphones in circulation. Remember to always download a compatible version for your mobile. Any changes to your mobile phone could lead to problems. If you have no idea what you are doing, even though it is a rather simple guide, avoid doing damage and contact someone who knows where to put their hands.
Release Notes
We used for this guide a Xiaomi Mi 9T Pro mobile phone and the latest version of Google Cam, 7.1, currently present on the new Google Pixel 4.
Step 1: Download the Google Camera
Download from this link the Google Camera v.7.0.009 V3 (ConfigsVersion) by parrot043
Supported devices
- Redmi 4 Prime
- Redmi Note 4 (X)
- Redmi note 5 india
- Notes redmi 5 Pro
- Redmi Note 7 / 7S / 7 Pro
- Xiaomi Mi 8 Lite
- Xiaomi Mi 9 / 9T (Pro)
- Nokia 6.1
- LeEco LeMax2
- MI9 only works on MIUI10
Step 2: Install Google Camera
Once you have downloaded the apk click on the file and proceed with the installation. You will be informed that this type of file can damage the device and that installation from unknown sources is not allowed, click on the switch to consent to installation from unauthorized sources.
Step 3: Install the optimal configurations for the GCam
Open the app and go to the “Camera” menu. Swipe down to access the settings menu and then click on the gear icon.
Click on Advanced, in the “Photo” paragraph and then on “Save XML Configurations”. This will create the Config folder on your device.
Now proceed with downloading the XML configuration file for the GCam
Move the downloaded file from the download folder to GoogleCamera / ConfigsCamera.
Now reopen the GCAM app and double click on the black space between the shutter button and the switch button of the front / rear camera and select the configuration file you just downloaded, then click on restore.
Here, now you are ready to take pictures with the new Google Cam and if you want to try something new do not miss our guide to "Astronomical Photography"
Deprecated: Automatic conversion of false to array is deprecated in /home/soultricks.com/htdocs/php/post.php on line 606


