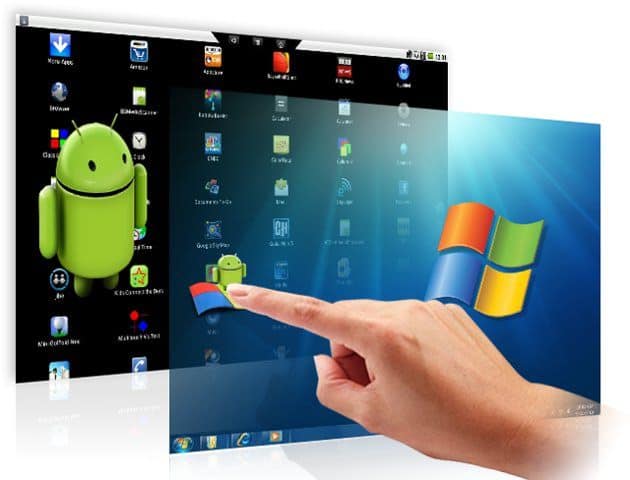
Android Google's mobile operating system cannot also be installed and used on a PC. However, there is a solution called BlueStacks, a software that allows you to use Android and its applications on all Windows computers how to install android on pc and what are the steps to make the most of BlueStacks, the software that will help you in your intent.
BlueStacks it is not a real application but a virtual machine that emulates a mobile device inside which Android is installed. To use it you need to download it from www.BlueStacks.com, launch the installation and start it. When opened, the software presents a graphic interface typical of Android, but designed for the immediate use of the apps. At the end of the installation we will already find the Facebook, Twitter and Avg Antivirus applications.
BlueStacks requires a Google account that we can create by registering on the page http://accounts.Google.com/signup and allows you to use Google services including Play Store.
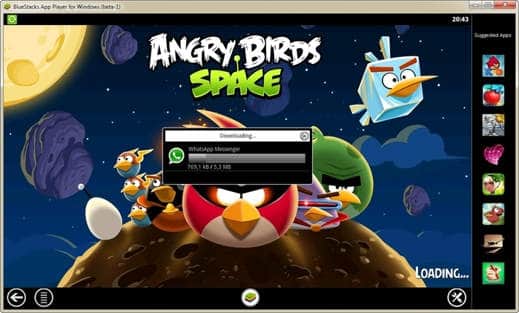
If we wanted to play with Angry Birds on the computer we have to do is access the function Search for apps and write the name of the game to download. Interesting is the fact that in addition to the Google Play Store you can also take advantage of other Stores such as 1Mobile Market e Amazon apps.
Whereas the main use of BlueStacks is in apps, voice Management Applications is crucial. The interface follows the same philosophy of simplicity to which the program has accustomed us and summarizes all the apps installed, allowing them to be removed through the function Delete. Also very useful is the ability to choose the default size with which each app opens. In Choose App Size. if we leave the entry ticked Default, the app is launched with a size similar to that of the BlueStacks window. If instead we put the check mark on Tablet, conforms to the standards of a tablet.
The other BlueStacks options are:
- Change Language, to select Spanish;
- Change your keyboard settings, useful to better manage the interaction between the Android virtual keyboard and the physical one of the PC;
- Date and time setting, even Android has its own management of the date and time that we can easily configure;
- Account Management, to check the profiles created in Android and manage the synchronization options with the Google account;
- Household Contacts, the address book that we find on smartphones. It might be useful for setting up WhatsApp contacts;
- Change Application Format, each app is launched with its own graphic format, but we can choose different screen resolution and start it ;;
- Sound, we can check and set the audio configuration.
Also in BlueStacks it is possible to use the Cloud to synchronize our Android smartphones and tablets. In a few steps you can import all the phone data into BlueStacks including photos and SMS, keeping them updated through the synchronization.
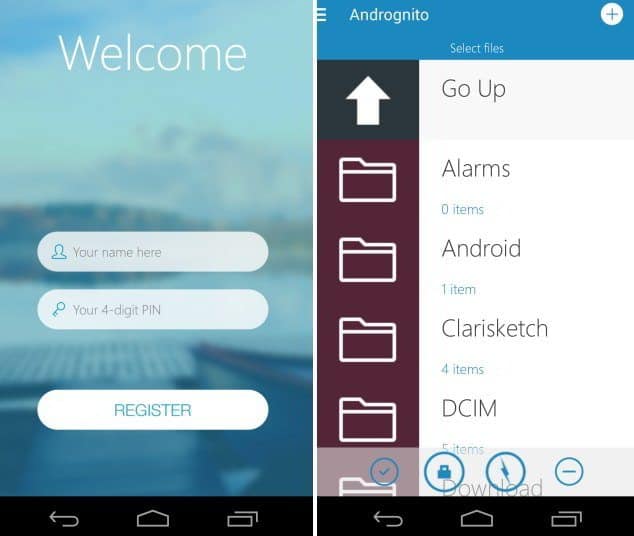
Thanks to Cloud the apps we download with BlueStacks will also be available on our mobile devices. In this way we will also have an excellent backup tool to use in all those cases where our mobile devices are subject to malfunctions or unexpected data loss. To access the synchronization function, you need to go to the menu Settings under the heading Cloud connection. The procedure requires the registration of a BlueStacks account, for which an email address is required to receive a numeric PIN to be marked to use it later.
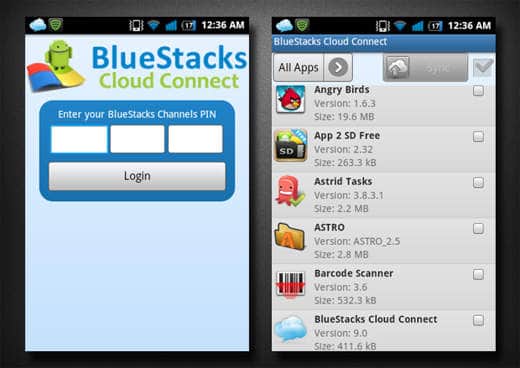
To start synchronization you need to install the app on your Android mobile device BlueStacks Cloud Connect. Once the synchronization app is launched, the mobile device asks for the PIN we received via email. After entering it, a screen will open with all the apps installed on our smartphone. Next to each there is a box where we can decide whether to add a check mark to allow synchronization with the BlueStacks platform or not. Once done, all that remains is to press the Sync button at the top of the graphical interface of Cloud Connect.
It is also possible to download apps on BlueStacks and send them directly to the mobile device. For this activity, however, synchronization with the Cloud is not required, but the only one Google Account, whose function is to keep track of the programs downloaded with our profile.
When with the Search for apps function we find an app, next to the item install there is an icon depicting a smartphone and an arrow crossing it. If pressed, we send the app to our mobile device. If the app is already present, we receive a notification message in which the error is found and the operation blocked, in order to avoid duplication.
One of the many usable applications on BlueStacks is also WhatsApp, which allows you to send messages via the internet to contacts using the same chat system. However, it must be borne in mind that the service allows you to register a single account per phone number, we will not be able to use it simultaneously on the mobile device and on the PC, but only on one of the two devices. Also for check the phone number, you will need to be contacted by WhatsApp which will communicate the pin code to activate your account. The rest of the configuration is exactly the same as on the mobile device.
Deprecated: Automatic conversion of false to array is deprecated in /home/soultricks.com/htdocs/php/post.php on line 606


