You have not been able to connect to the Internet from your laptop for a few days? You can browse from a tablet and smartphone, but not from a PC? Well, if the Wifi icon, which in Windows 10 is next to the clock, also has an asterisk symbol, the reason for the Internet connection error could depend on a problem with the wireless card.
Read on and we will reveal the solution for connection problems when you have an asterisk next to the Wi-Fi symbol.
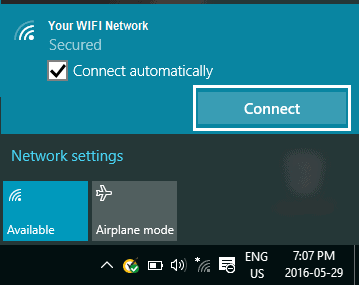
Guide to understanding Wi-Fi error icons
Before we tell you about how to fix the asterisk problem on the Wifi symbol, you should know that the icons for Wi-Fi connection are different:
 It indicates that you are connected to the Wi-Fi network and the Internet. If you have connectivity problems with this symbol, it means that the cause could be a specific application or website, or a firewall blocking your Internet connection.
 It indicates that the Wi-Fi connection is available, but there is no Internet connection. For more information, read also: Yellow triangle with exclamation mark on WiFi: how to solve it.
 Indicates that the network card is recognized, but you are not connected to a Wi-Fi network. The causes may be different:
- The network card does not support the frequency at which the network transmits.
- The card supports the network frequency, but the wireless network card driver excludes it.
- The physical Wi-Fi switch on your laptop is turned off.
 Indicates that a wireless card is detected and there are wireless networks within range, but you are not connected to a network.
 Indicates that Windows did not detect the wireless network card. Check that you have the latest network card driver or that it is compatible with your operating system. In the wireless network report, locate the wireless card in the Network Adapters section and see if there is a Problem Number.
How to resolve the problem with the white asterisk in the Wifi icon
This last problem is the one that highlights the asterisk next to the Wi-Fi symbol. If you are not having problems connecting with an Ethernet cable, you can try the following steps:
1 .Disable Enable wireless card accessible from Settings> Network and Internet Network and Sharing Center> Change adapter settings and right click on the Wifi tab to select disable, wait a moment and then press Skills.
2. Wireless card, right click and choose Properties> Configure and access the Drivers section to click Update Driver and then Automatically check for an updated driver. Wait for the operation to finish.
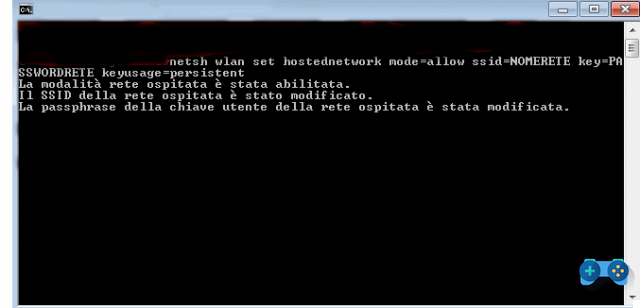
3. Reset the network connection by acting directly in the Command Prompt.
To do this you have to type Type here to search, cmd and at the same time Command Prompt that will appear, click on it with the right mouse button and choose from the menu that appears, Run as administrator.
At the command prompt, type the following commands and press Send at the end of each line:
- cd ..
- netsh winsock reset
- netsh int ip reset
- reboot advfirewall netsh
- exit
Deactivate and reactivate the Wifi by clicking on the symbol next to the clock, left-clicking on it and restarting the PC.
4. Reset the modem / router to factory settings. Using a paper clip or pencil, press the reset button located inside a small picture on the back of the modem/router. Press and hold the reset button for more than ten seconds, you will see the power light go off for a short period of time to indicate that the unit will reboot. When the power light stops flashing, the unit has finished resetting and is ready for use.
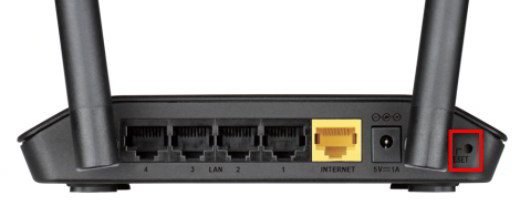
Note that resetting the router will change the factory default settings, but will not restore the previous version of the router.
To reconfigure the connection parameters, access it by typing the address http://192.168.1.1 in the browser and then enter the user and password admin. In some cases, the password field must be left blank.
Caution, it is recommended to change the SSID name and password of the network.
Deprecated: Automatic conversion of false to array is deprecated in /home/soultricks.com/htdocs/php/post.php on line 606


